Sleep Tracker: how to hack your fasting lifestyle
Getting enough sleep might seem a no brainer. However with our modern busy lives getting enough sleep isn’t that easy. There is always something what needs attention. When that happens, you quickly find yourself several hours short of sleep at the end of the week.
Being well-rested is an essential part for reaching your fasting goal. If you are (too) tired, your body needs more energy to stay awake. If that is the case, you will experience hungry feelings and eating something won’t solve that problem because your body needs rest.
Expectations #
The primary purpose of the Sleep Tracker is to quantify the hours you sleep for statistical purposes. It does not directly measure if you are sleeping or awake. To accurately record sleep-wake cycles is technically beyond the scope of Fasting4all. If you are interested in that matter, I personally have a good experience with AutoSleep (iOS).
Disclaimer
In case you might wondering: I’m in no way related to the developer of AutoSleep and do not get any benefit of mentioning this app. It’s just my experience It can be a helpful app if you want to track automatically the actual time you sleep.
Purpose of Sleep Tracker #
The sleep tracker helps you to measure how much sleep you get. This provides valuable information to optimise your fasting lifestyle.
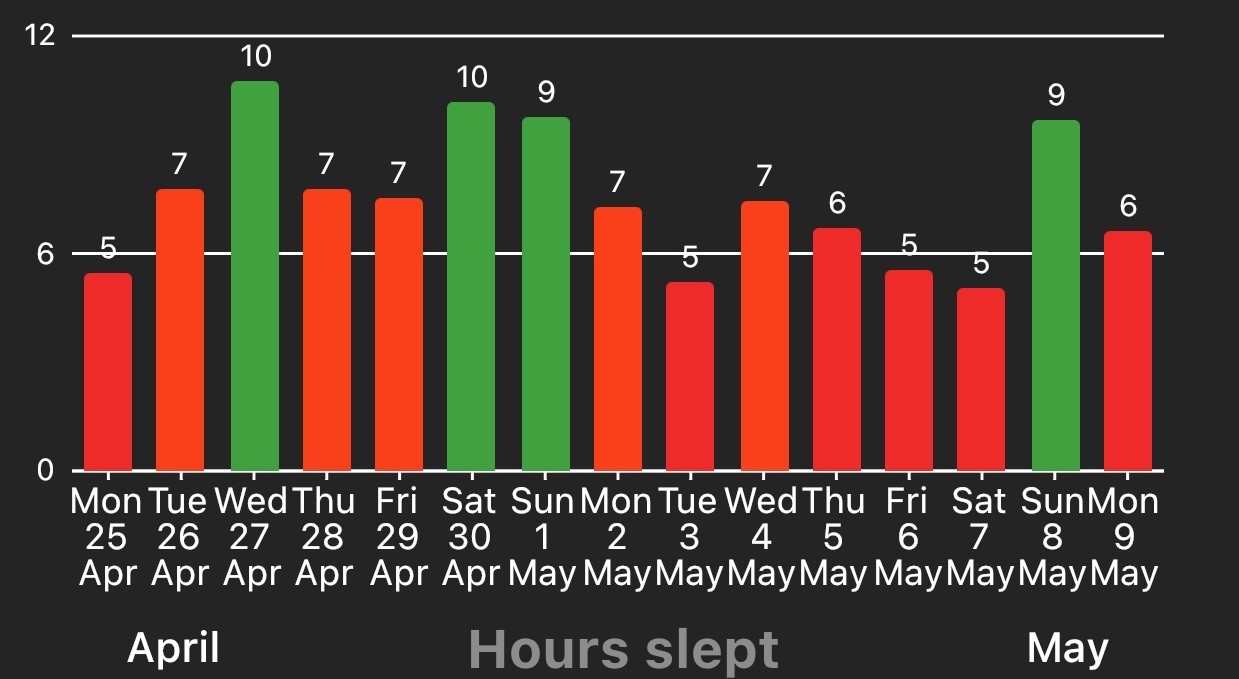
The data collected from the sleep sessions is available from the statistics screen. Below an example of how trying to compensate days with too less sleep looks like when presented in a chart.

How much sleep do you need? #
According to Dr Matt Walker the average adult needs 7 to 9 hours of sleep. Matt Walker has given some very interesting TED talks about sleep. If you have the time, I can recommend to watch them. You can find an overview of the available TED talks at the end of this post.
Without further ado, let’s get to business and have a walk-through of the Sleep Tracker functionality!
Sleep Tracker Quick start guide #
On screen help #
By tapping the help button twice (question mark in the top right corner) you can activate a on screen help text. If the help button is blue then the on screen text is activated. If the help button is green then the on screen text is deactivated.
1. Set a sleep target #
The sleep target can be used in two different ways:
- No target at all. In this case you have to stop the sleep tracker manually. Tip: this work great if you have kids and sleep is a luxury 🙂
- Set a sleep target of X hours. In this case the end time is automatically calculated. You can use this setting in two ways:
- You’re going to sleep now and want to start to log the session immediately.
- In relation with the schedule option. In this case you can schedule for a pre-defined time. The end time is calculated based upon the target sleep hours.
Tip: The default value of the slider can be set on the config screen: Config> Preferences> Sleep
2. Set a schedule #
Optional
If you want to plan ahead you can schedule a sleep session. You can use the target time slider to set the duration. Tap on the start– or end time to set the desired time. After this has been set, you can schedule the sleep session to start on the selected time. After that, the timer will countdown to the target bedtime.
3. Manual Entry #
Optional
The manual entry enables you to record past sleep sessions.
On the sleep screen, locate the Manual Entry icon and the bottom right.
Tap on the icon.
Set the start- and end date/time.
Check if the Sleep duration is right. If so, tap on Save.
How to modify historical records #
1. Open the history screen #
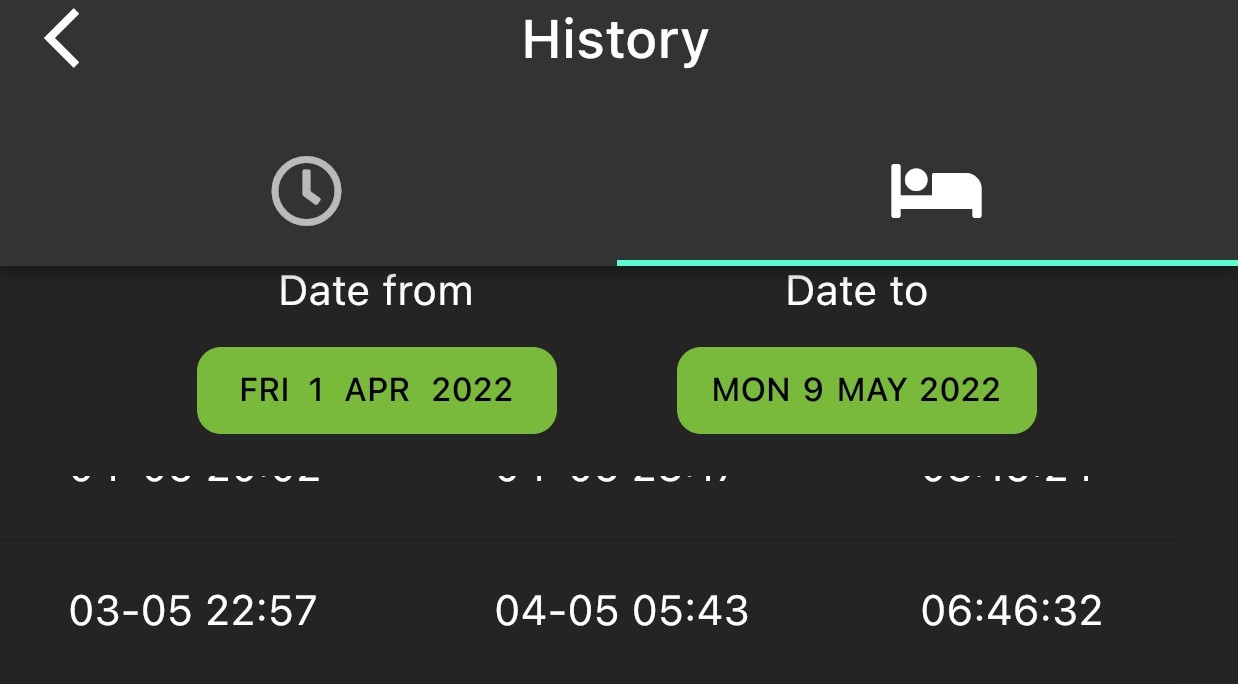
Go to the menu in the top left corner and select History

2. Select the sleep session #
Select the sleep session you want to modify and tap on the total time on the left.

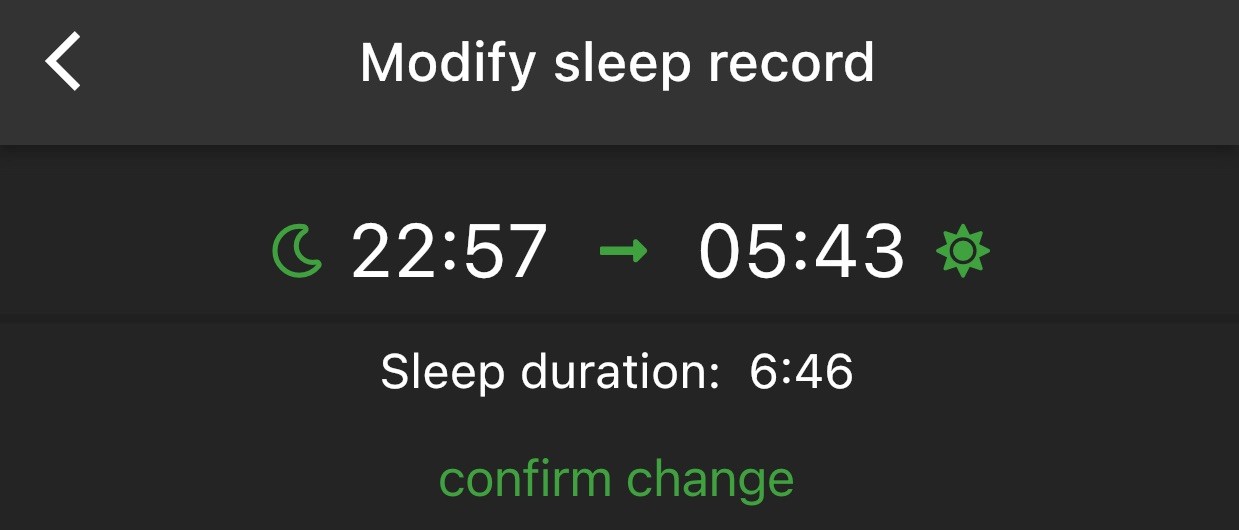
3. Change the date/time #
Now you can adjust the date/time.


